How to create Nezha emojis using AI? A ComfyUI workflow tutorial.
How to create Nezha emojis using AI? A ComfyUI workflow tutorial.
Creating emojis with AI is amazing! It used to take weeks to make a single set, but now it's done in minutes. Next, I'll share the entire process of creating the recently viral Nezha emoji set using ComfyUI.
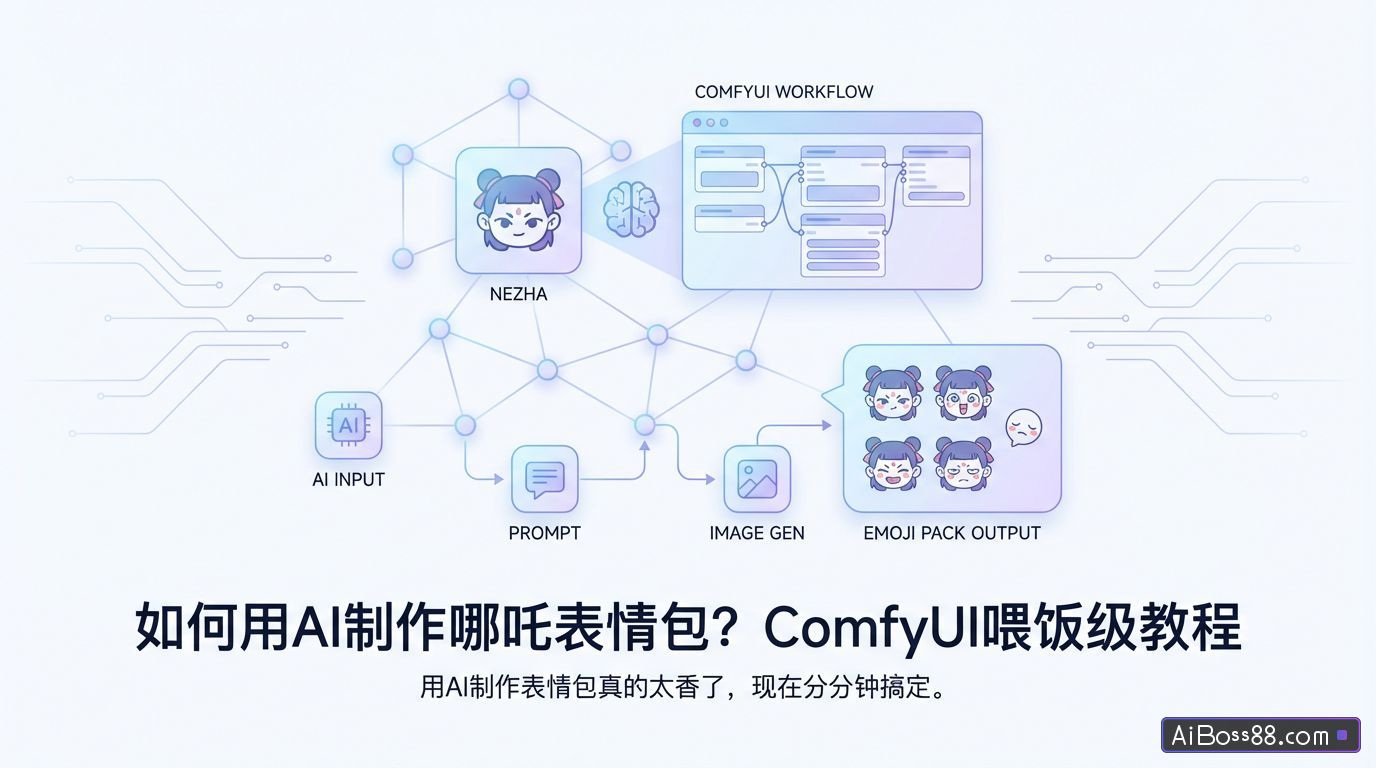
useAIMaking emojis is so convenient! It used to take weeks to make a set of emojis, but now it can be done in minutes.
Next, I'll share the whole process of how I created the recently viral Nezha emoji pack using ComfyUI.
ComfyUI is easy to use, but for beginners, the frequent errors during local installation and loading of new workflow nodes can be quite a headache.
I recently discovered that using ComfyUI's online workflow directly...One-clickMake the same toastAIWith thousands of models and LoRa to choose from, this is amazing!
01
Online raw images
Searching for "Nezha" will bring up many related models, LoRa models, and small tools. The Nezha in the third image on the first row is quite well drawn; click on the image to view details.
The information on the page tells us that to generate a cover-like effect, you need the FLUX.1 model paired with LoRa.
The trigger word for lora is nz.SimpleIn short, it's oursPrompt wordsFor LORA to work, it needs to contain nz to help us generate the Nezha image we want.
Click on the example image to see all the information about how it was generated. You can also click on the bottom right corner.One-clickGet the same style.
After clicking "Make the same style," you'll be taken to an operation page similar to the Stable Diffusion Web UI.automaticI've filled it out for you.Prompt words,you canOne-clickUse the same parameters as the author.
That's how you get the same Nezha design as on the cover.
We adjust directlyPrompt wordsThat way you can create images of Nezha in different poses and expressions!
02
Creating a Wensheng Image Workflow
Online workflows and online image generation are similar in effect, but workflows are node-based. Once run once, the parameters remain unchanged and do not need to be set every time, making them very suitable for batch image generation.
Next, let's create a basic text-based image workflow together.
Click "Create New Workflow".
There are many basic workflow templates here. The Nezha image we just generated uses the FLUX model and LoRa, so we can directly select the FLUX&LoRa template here.
Click to use, and a basic document-to-image workflow is created.
Each small module on the canvas is a node.
We can drag the canvas by clicking on a blank area, use the mouse wheel to control the size of the canvas, and drag the node by holding down the left mouse button.
The colored dots on the left and right sides of the node indicate the input node (left side) and the output node (right side).
They follow the rules of being connected by the same color, left-in and right-out, and single-in and multiple-out (a single input node can only be connected to a maximum of 1 line; a single output node can be connected to multiple lines).
Let's try to recreate the Nezha picture we drew earlier.
Click on the Checkpoint name.
There are many models to choose from in the cloud. Here we select the FLUX.1-dev-fp8 model and click to use it.
Using the same method, we selected LoRa for Nezha - The Demon Child's Havoc in the Sea F1 and set the model strength (weight) to 0.8.
Input positivePrompt words:
Flux.1 models do not support negative...Prompt wordsWe can click the gray dot in the upper left corner of the node to collapse it and make the interface more concise.
Latent space image, here we adjust the size of the generated images and the number of images generated at one time.
The parameters for the K-sampler can be found in the settings for online image generation.
I want to replicate the Nezha example image, so I randomly planted the same 834084145 as the example image here.
Keep the other nodes at their default parameters, then click "Run" at the bottom of the page.
After waiting for about 1 minute, two images of Nezha were generated.
All that's needed is to adjust gradually.Prompt wordsBy providing content related to facial expressions and actions, you can generate various matching emoji packs!
03
ComfyUI HD Restoration Workflow
The generated images looked okay, but the clarity wasn't quite there, so I set up a high-definition restoration node in the workflow.
In the high-definition restoration, the K-sampler should be consistent with that in the raw image. The final effect can be adjusted by changing the noise reduction values.recommendSet it between 0.5 and 1.
Among the nodes in the non-latent space magnification group, it is also necessary to select appropriate magnification.Large Model.
Generating character emojis mainly requires some facial retouching, so here...Large ModelSelect 4xFaceUpSharpDAT.pth.
When we click "Run", the workflow will generate three images: the raw image and two enlarged images in two different ways.
Comparing the three images, the one magnified using non-latent space is the clearest. We can right-click in the other two groups to disable the group nodes and keep only the one with the best effect, which can save some computing power.
Click "Publish" in the upper right corner of the page to upload your workflow to Toast and share it with your friends.
Click the link below to use the same tool!
https://tusiart.com/template/run/836929649576720604
04
AIGenerate video
We've already generated various Nezha expression images. Next, we'll turn these images into videos.
We open SmartScreen and select Image-generated Video.
Upload the image you just created, and then...SimpleDescribe the dynamic effect you want.
Prompt wordsThe child rested his cheeks on his hands, looking dejected, and shook his head slightly from side to side.
05
Add text
Convert videos into animated emoticons
Open CapCut, upload the video you've created, and add subtitles.
When exporting, select GIF export and set the resolution to 240P.
Having said all that, these are just the tip of the iceberg when it comes to using ComfyUI workflows. But if you can master these, you'll be able to use all sorts of excellent workflows on the platform smoothly.
As for a more in-depth understanding of ComfyUI, you'll need to learn gradually through your own use. Hopefully, this tutorial will show you that using ComfyUI workflows isn't an insurmountable challenge; it only requires a little learning to master.High efficiencyUse it.
All tools mentioned in this article:
ToastAI:
Zhipu Qingying: